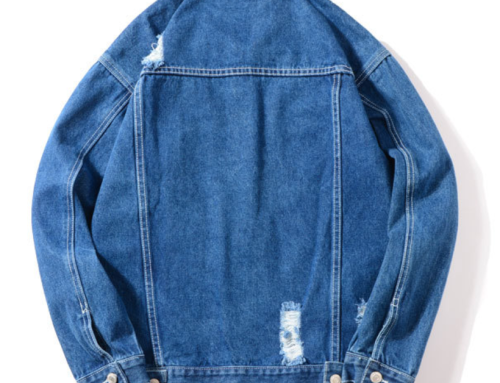
Personalizing your jacket with DIY embroidery is a fantastic way to add a unique touch and showcase your creativity. Here’s a step-by-step guide to get you started on your embroidery journey:
Materials You’ll Need:
- Jacket: Choose a jacket made of fabric that can handle embroidery, such as denim, canvas, or cotton.
- Embroidery Hoop: Keeps the fabric taut while you work.
- Embroidery Thread: Comes in various colors and can be made of cotton, silk, or synthetic materials.
- Embroidery Needles: Have a sharp point and larger eye to accommodate the thread.
- Embroidery Floss: Made up of multiple strands of thread twisted together. You can separate the strands to create various thread thicknesses.
- Water-Erasable Pen or Pencil: For drawing your design on the fabric.
- Scissors: For cutting thread and excess fabric.
- Fabric Stabilizer (optional): Helps keep the fabric steady while embroidering.
- Embroidery Patterns or Design: You can create your own or find inspiration online.
Steps:
- Plan Your Design: Decide where you want to place your embroidery and what design you’d like to create. You can choose a small design for a subtle touch or go for a larger, more intricate design.
- Prepare the Fabric: Iron the area of the jacket where you’ll be embroidering to ensure it’s smooth and wrinkle-free. If your jacket is particularly thick, you might consider using a fabric stabilizer to make the embroidery process easier.
- Transfer the Design: Use a water-erasable pen or pencil to lightly draw your design onto the fabric. Alternatively, you can print or trace your design onto a piece of paper and then transfer it using a light box or a window.
- Thread the Needle: Embroidery floss is usually made up of six strands. Depending on the thickness you want, you can separate and use fewer strands. Thread the needle with your desired amount of thread and tie a knot at the end.
- Start Stitching: There are various embroidery stitches you can use, such as backstitch, satin stitch, French knot, and more. Choose stitches that suit your design and provide the texture you want. Start stitching along the lines of your design.
- Practice and Patience: Embroidery takes practice, so don’t be discouraged if your first stitches don’t look perfect. As you practice, your skills will improve, and your stitches will become more even and precise.
- Finishing Touches: When you’ve completed your design, tie a knot on the back of the fabric to secure the thread. If your design requires multiple colors, make sure to secure the thread at the back before switching colors.
- Final Steps: Gently press your embroidered area with an iron on low heat to remove any wrinkles or marks from the transfer. Be cautious not to iron over the thread, as some threads can melt.
- Show Off Your Creation: Once your embroidery is complete and any marks are removed, you can proudly wear your personalized jacket, showcasing your DIY embroidery skills to the world.
Remember, embroidery is a relaxing and creative process, so enjoy the journey as you transform your jacket into a unique piece of wearable art.
